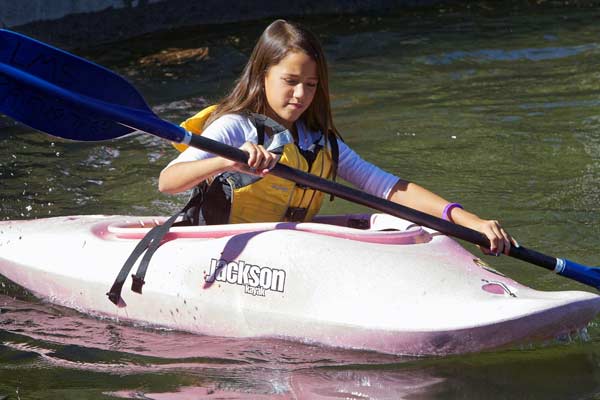
Has the color of your kayak faded? Is the shine long gone? Well, we have a guide for you. Here is everything you need to know about how to paint your kayak, from what kind of paint to use to some of the best painting tips and tricks, as well as the tools you’ll need for the job.
Can You Paint a Kayak?
Yes, you can paint a kayak. It’s not as simple as it sounds, but if you have the right tools and a little patience, it will be easy for you to paint your kayak. All you need to do is take your time to prepare your kayak and choose the best paint.
How Much Paint Do I Need?
There is no hard and fast rule for how much paint to use on your kayak. It all depends on how many coats you need to apply.
It’s best if you don’t exceed two or three coats, depending on the thickness of your fiberglass hull. If you have a polyethylene hull, keep it as thin as one or two coats.
Types of Kayak Paint
The kind of paint you will use for your kayak will depend on how durable you want the finish and how much money you want to spend. You can choose from a few different types of kayak paints, depending on what kind of kayak you have.
1. Marine-Grade Paint
This is the most expensive type of paint to use. However, it makes sense if you have a kayak made of more durable materials, such as polyethylene or polycarbonate. This paint will last a long time and not chip off like some types of ordinary paint might.
2. Water-Based Paint
This paint is more environmentally friendly compared the marine-grade paint. You’ll be able to use this type of paint on your boat and kayak.
It’s made with water-based materials and is easy to clean. However, the downside is that it can fade or peel off after a while.
3. Oil-Based Paint
If you have a wooden kayak, you’ll need to use this type of paint. It dries to a tough finish but also smells terrible and can take a long time to dry. You’ll need to cover the area with a tarp for the paint to dry.
Paintbrush Vs. Spray Paint
Paintbrushes are usually a good idea to use when you’re painting something small. However, spray paint is the way to go if you intend to paint a large area. It will provide an even coat of paint on the kayak and dry faster.
Steps for Painting Your Kayak
It’s not a big secret to say that you’ll be using a lot of paint and tools to make your kayak look as good as new. So, here are some tips and tricks on how to paint a kayak.
1. Pick Your Painting Area
The first thing you’ll need to do is to pick a place where you can lay out your kayak and paint. You’ll want to choose a hard and flat surface, preferably outside. A garage or shed will also work, but you’ll need to cover the floor just in case something spills.
2. Clean Your Kayak and Sand It Down
You’ll want to ensure that your kayak is completely clean before you start painting. Scrub it hard with a brush, just in case of dirt and grit.
You can also use some degreaser to get rid of the stains if you have one. This will ensure that your first coat of paint will stick to the kayak.
3. Prepare the Surface of the Kayak
You’ll want to prep the surface of your kayak before you start painting. You will most likely cover it with a substance that protects it from UV rays and water. You’ll need to remove this layer so that the paint will stick.
Use a degreaser or sandpaper if your kayak is wooden, and use some acetone on plastic kayaks. Sand your entire kayak until it’s smooth and free from sharp edges.
4. Wipe It Clean Once More
Inspect your kayak carefully, using a sponge and soapy water. Rinse it with clean water and let it dry. You’ll want to make sure that you haven’t missed anything before you start applying the first layer of paint.
5. Apply The First Layer of Paint
Apply the first layer of paint using either a paintbrush or a roller, depending on the surface of your kayak. When you’re around the areas that need more paint, wrap some painter’s tape around your brush so you can easily remove it when the job is done.
6. Apply the Second Layer of Paint
The second layer should be applied carefully since the first layer is not yet totally dry. You’ll need to ensure that there will be no exposed areas for water to seep into by applying a second coat of paint.
You can apply another layer to the places you missed or if you are going for a gloss finish, make sure you keep the first layer on for longer than needed. If a second coat of paint is required, use some sandpaper to get rid of any bubbles.
7. Apply a Clear Finish Coat
The next thing that you’ll need to do is to apply a clear coat. This will ensure that the paint stays on top of your kayak and doesn’t break into cracks or crevices.
It will also ensure that the paint dries quickly, evenly, and shine. All you need to do is to spray it on before cleaning your kayak again.
8. Wash and Wax the Kayak
Once you have finished painting your kayak, you need to wash and wax it. You’ll need a lint-free and cotton-filled soft cloth, an old shoe brush, some rubbing compound, and another cloth for wiping. The wax will seal it and keep it looking brand new for a long time.
Conclusion
If you want to paint your kayak, then the first thing that you’ll need is good quality paint. Don’t just take any paint and throw it on. Buy a high-quality brand of paint that will help you save money for more important things.


